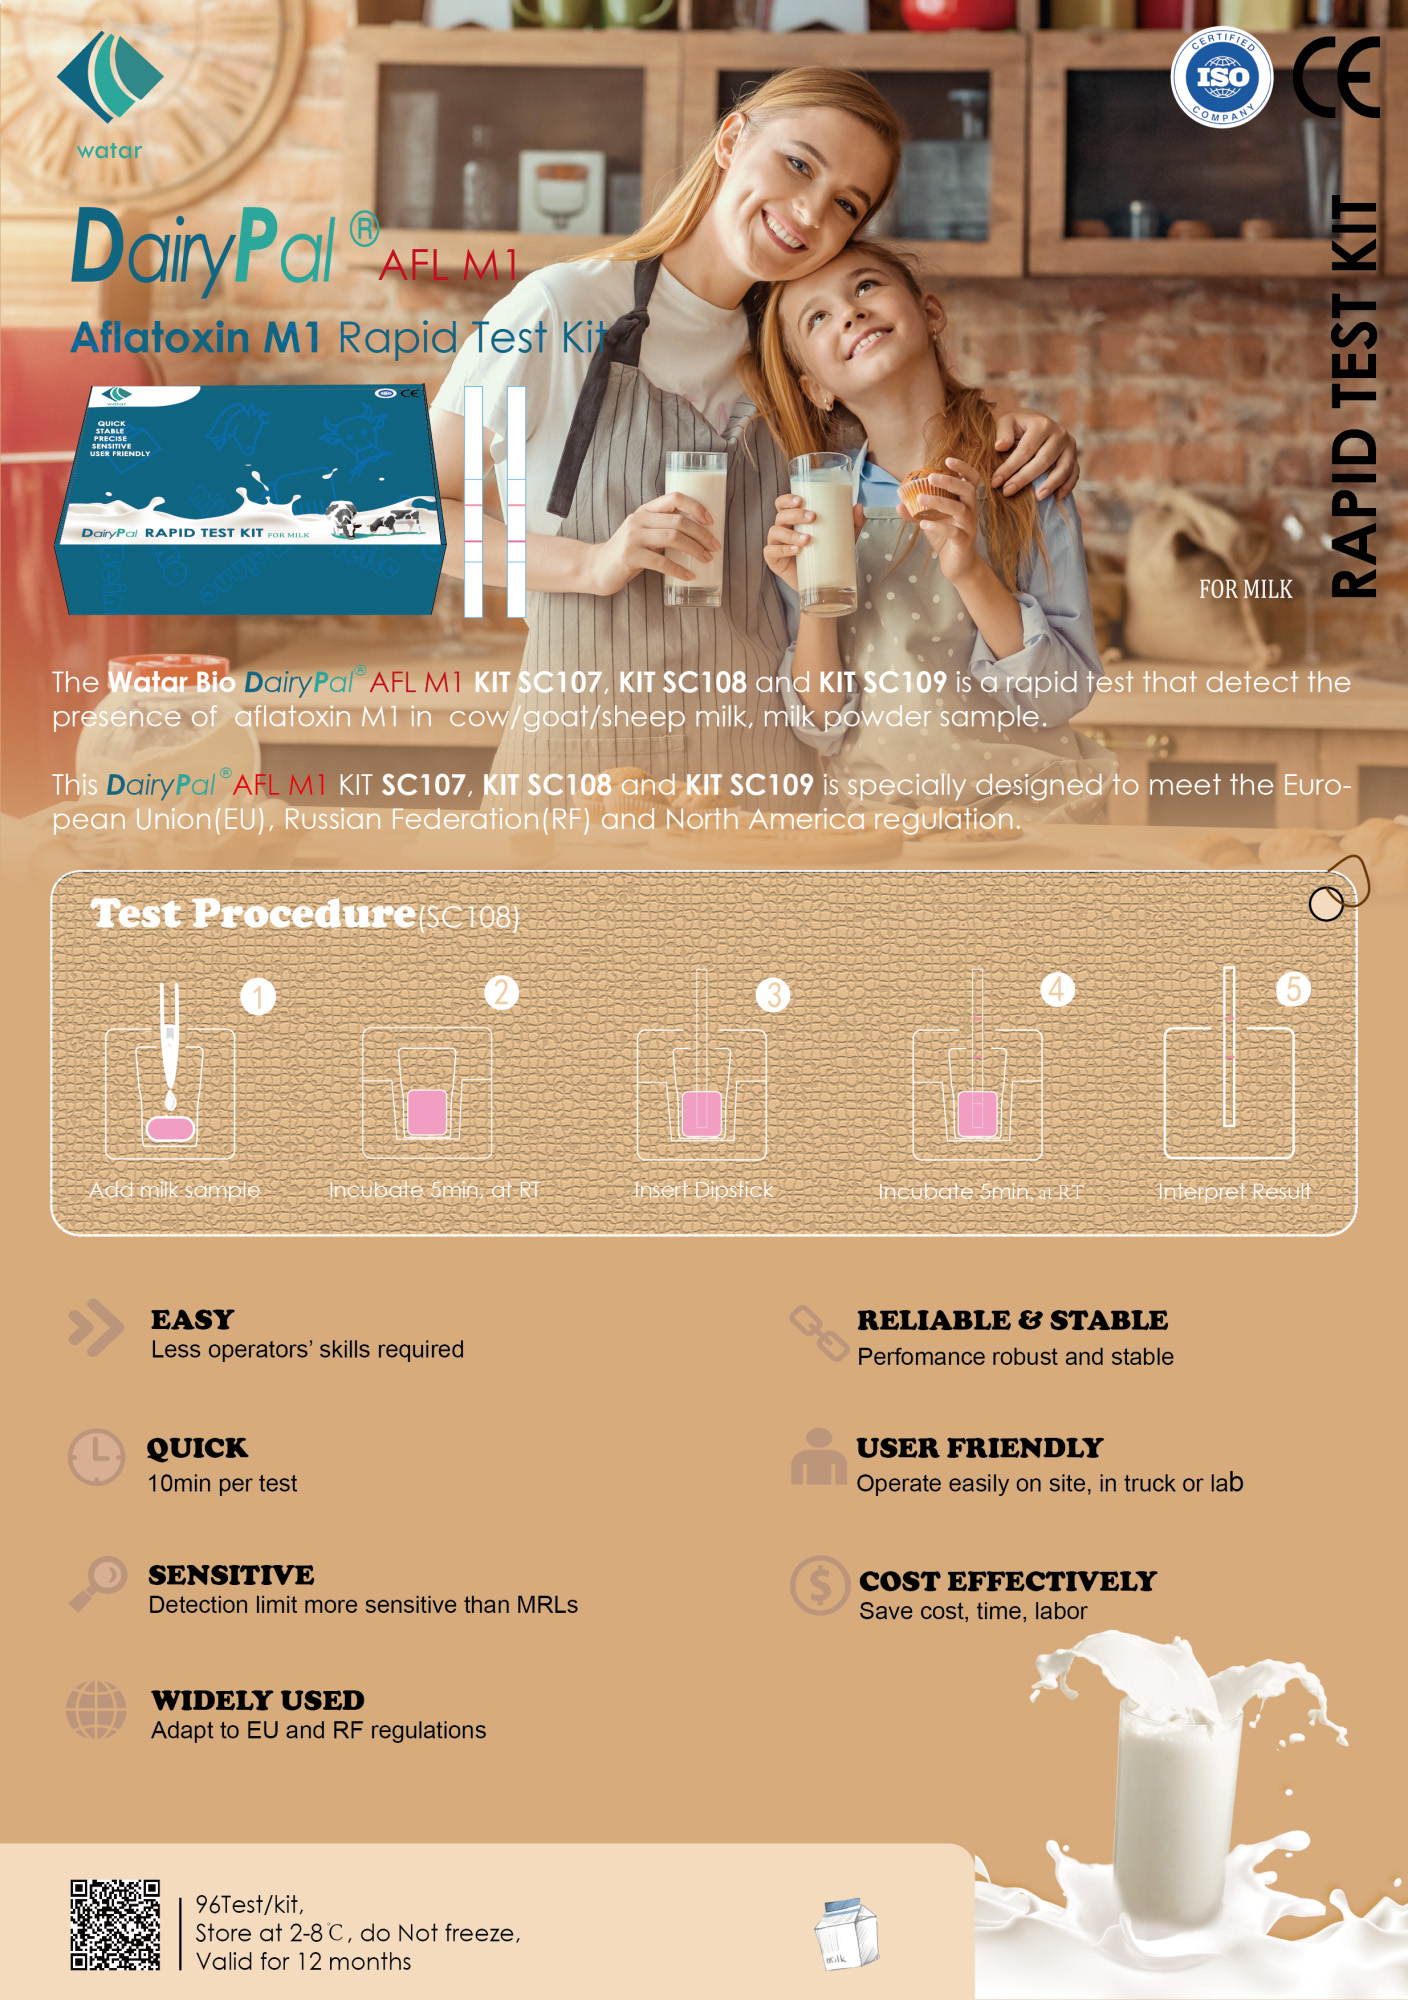
Aflatoxin M1 Rapid Test Kit
Rapid Test for the presence of Aflatoxin M1 in raw cow / goat milk
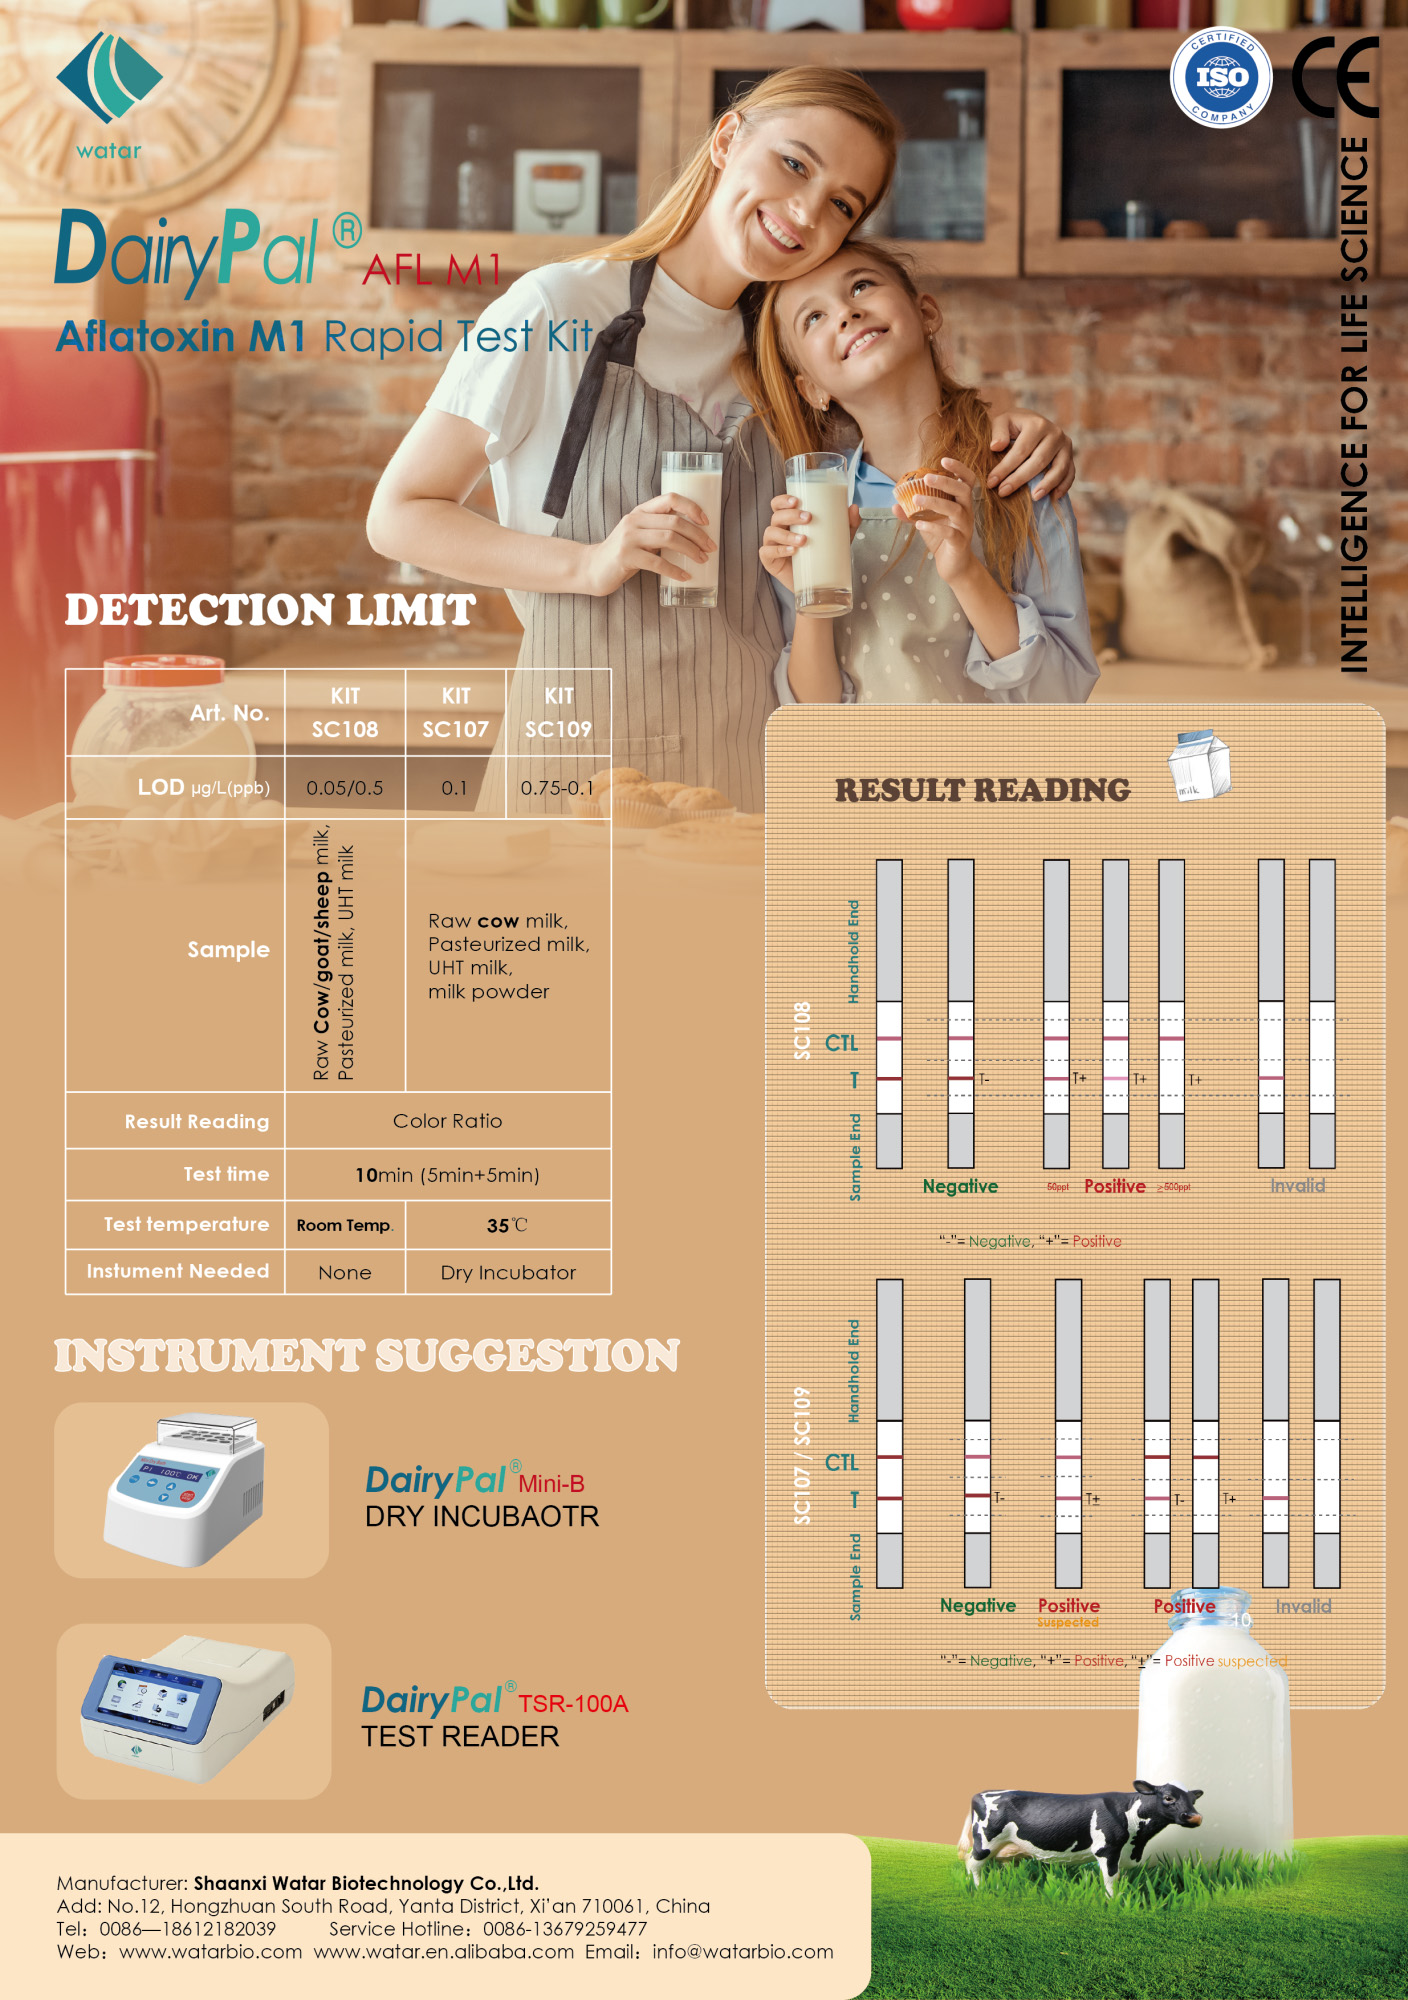
PRINCIPLE
The WatarBio DairyPal AFL M1 is competitive test involving one receptors in one single operation, the aflatoxin M1 in the raw milk sample competes for the antibody with the antigen coated on the membrane of the test dipstick. Then after a color reaction, when the sample is free of aflatoxin M1, a strong colour development occurs at the specific capture lines, indicating the absence of the concerned analytes in the milk sample. On the contrary, the presence of aflatoxin M1 in the sample will not cause the strong coloured signal to appear at the specific capture lines.
APPLICATIONS
The DairyPal AFL M1 is a rapid test that detects keenly the presence of the Aflatoxin M1 molecules in raw cow milk, Pasteurized milk, UHT milk sample.
LIMIT OF DETECTION (LOD)
0.5 μg/L(ppb) or 0.05 μg/L(ppb)
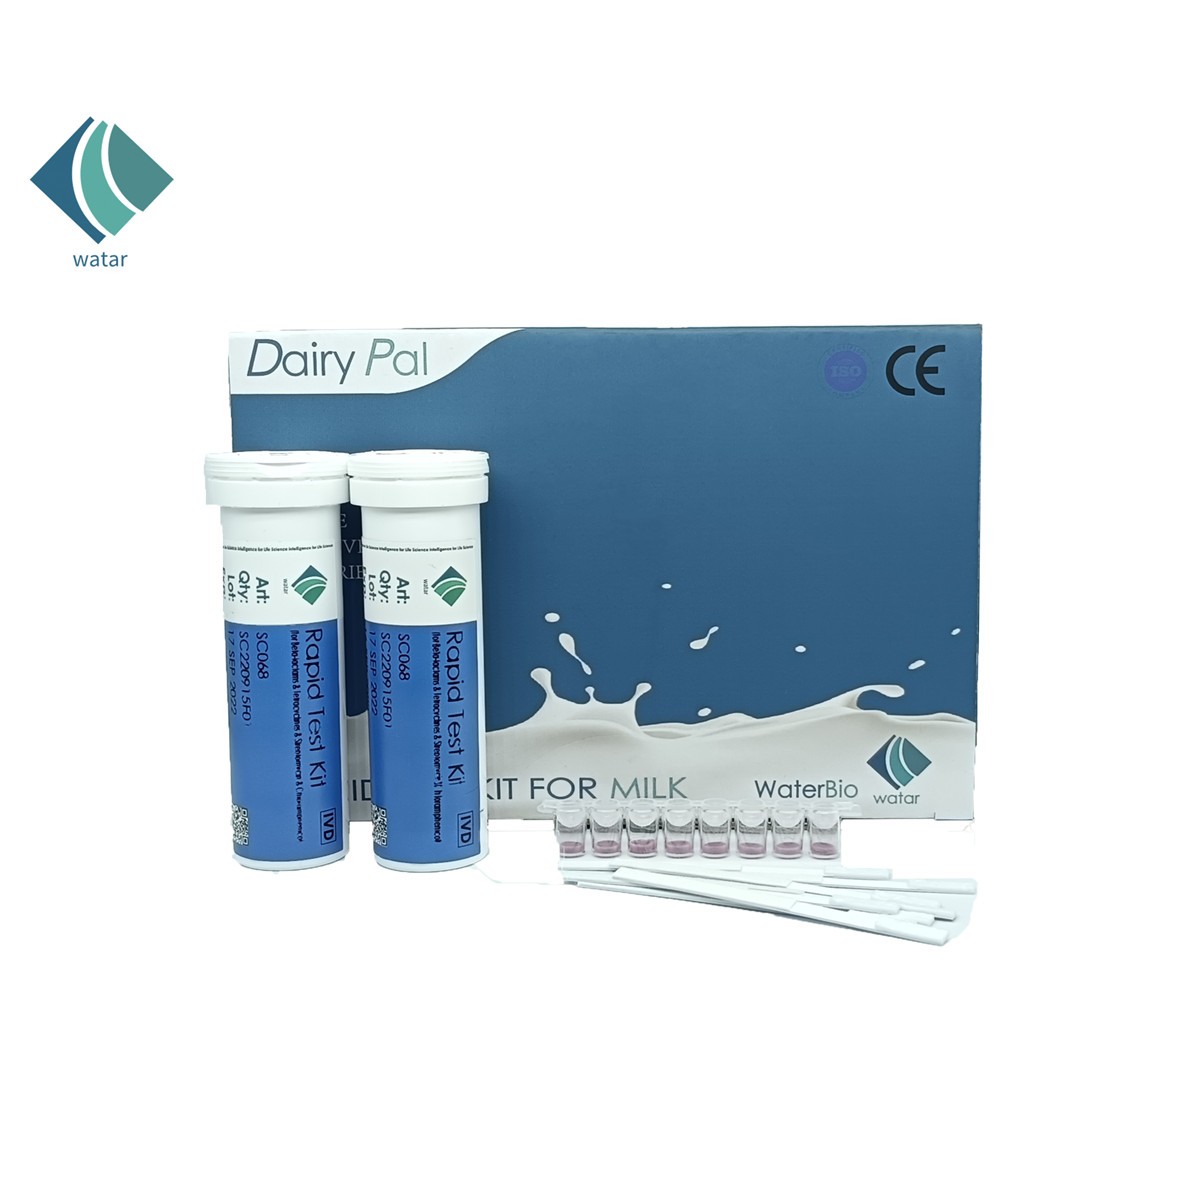
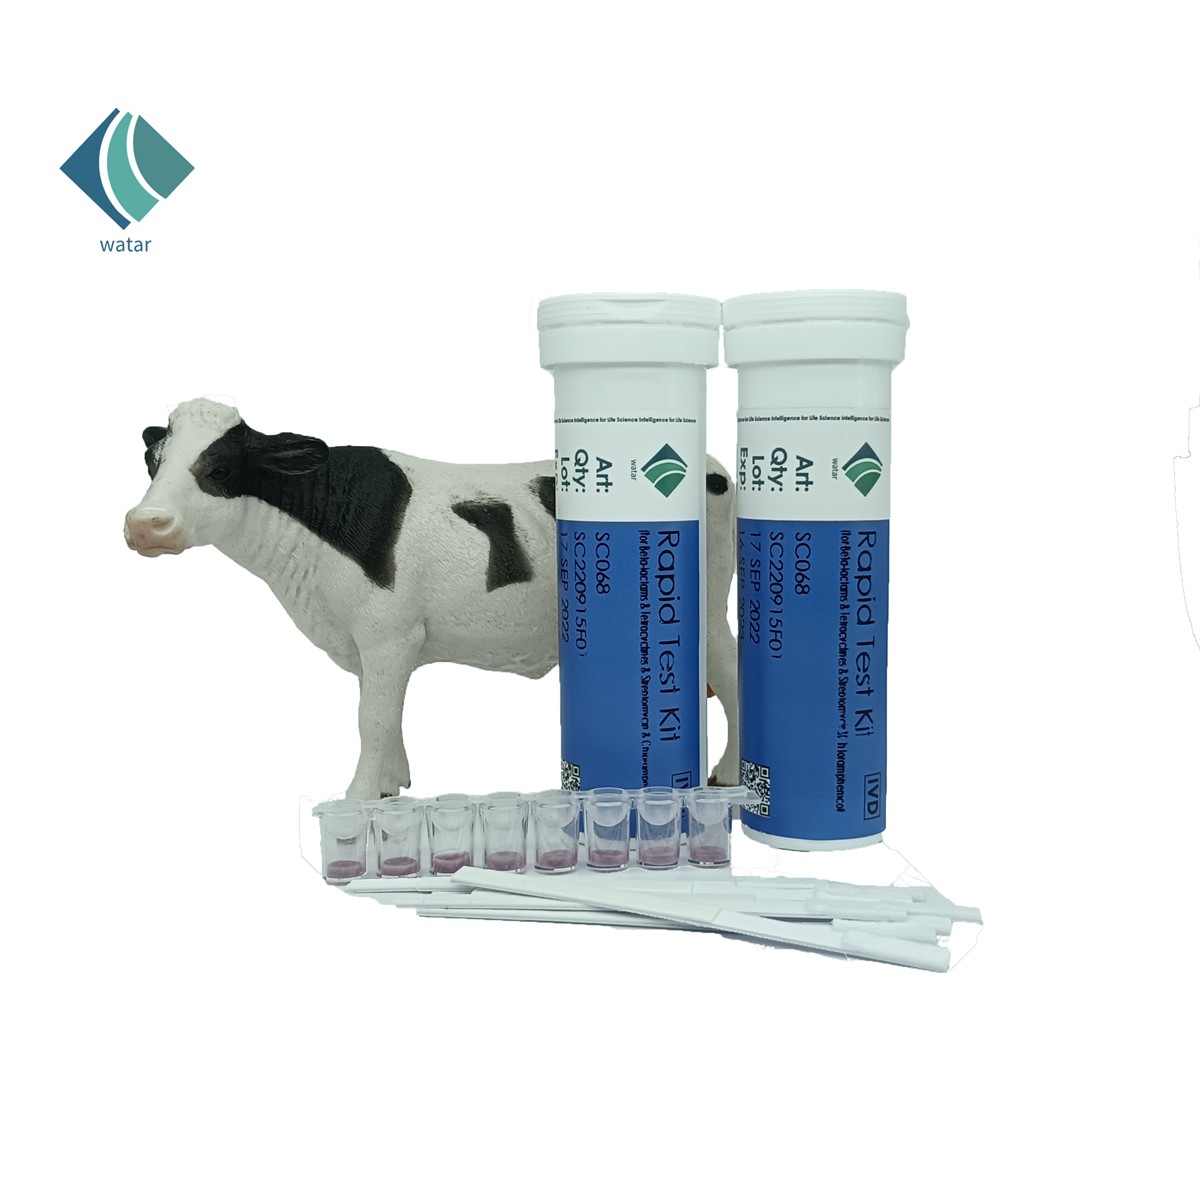
CONTENTS
● 12 tubes each with 1 strip of 8 reagent microwells and 8 dipsticks
● 1 Negative Control
● 1 Positive Control
● 1 Mini pipette
● 1 Microwell holder
● 100pcs Disposable plastic pipette
● 1 Kit insert
TEST PROCEDURE
1. Read the instruction attentively, choose a clean and dry place to perform the test, wash and dry your hands before starting.
2. Take the kit out of the fridge and wait until the temperature of the reagents reaches the ambient temperature.
3. Calculate how many milk samples will be tested and mark the sample tubes to identify. The milk samples should be fully liquid without any clots or deposition. The ideal temperature of milk sample is between 4 to 20℃.
4. Take the tubes required from the kit package, take out as many micro-wells and dipsticks as the milk samples to be tested, and make proper marks to match the milk sample.
● To open a dipsticks tube, press the safety ring down, take off the ring and get the tube cap off with your thumb.
● Recover the cap tightly after taking out the required micro-wells and dipsticks.
● Empty one test tube then open another one.
● Keep the unused micro-well caps tightly sealed. Do NOT tear off the strip of 8 microwell caps.
● Use the exposed dipsticks in 1 hour.
5. Place the required numbers of the mircrowells in the dry incubator, transfer 200ul of the milk samples into the microwells, inject and reject the milk sample for 5 times consecutively to homogenize the lyophilized reagent and milk sample.
● Dip the end of the plastic pipette(or DairyPal Mini pipette) tips into the milk and slowly releases the sucker. When the sucker is back into its initial position, transfer the 200µl of milk into the reagents, by slowly pushing the sucker down to the bottom.
6. Start the timer to incubate for 5 minutes at ambient temperature(around 25℃). During the incubation, the receptors will detect the presence of the analyte in the milk sample. The reaction will take 5 minutes.
7. Dip the dipsticks into the micro-wells with the "Sample End" down side to the bottom.
8. Start the timer to incubate for 5 minutes at ambient temperature (around 25℃) again.
9. Then take out the dipsticks and place them laterally in a dry clean place, peel off the sample pad, interpret the result.
● Use a clean nipper(or new pipette tip) to scrape gently and slowly the sample pad.
● The peeling-off of the sample pad will stop the ongoing reaction of the receptors.
● File the used sample pad, peeled-off dipsticks if necessary.