

SC110 Milk Adulteration Test Bovine from sheep/goat milk Rapid Test Kit
- Product Item : SC110
- Category: milk fraud test kit
- Detection Time:10min(3min+7min)
- Detection Limit:0.2-0.3% cow milk
- Detection Temp:ambient temp. or 25℃
- Shelf Life:1 year
Milk Adulteration Test Bovine from sheep/goat milk Rapid Test Kit
PRINCIPLE
Goat/sheep milk is considered as another source of protein for human consumption, which is regarded as high nutrition, low allergic. In some countries, producers added bovine milk into goat/sheep milk to increase the production and profit.
The DairyPal® AD uses the specific antibody of bovine casein, which can only specifically bind to the casein in milk or milk powder, but does not react with the casein in sheep's milk or milk powder, so as to detect whether the sheep's milk or milk powder is mixed with milk or milk powder through competitive methods. This method has the characteristics of good specificity, high sensitivity, strong stability and strong anti-interference ability.
APPLICATIONS
The DairyPal® AD is a rapid test that qualitatively detect cow's milk adulteration in goat/sheep milk.
LIMIT OF DETECTION (LOD)
0.2%-0.3%
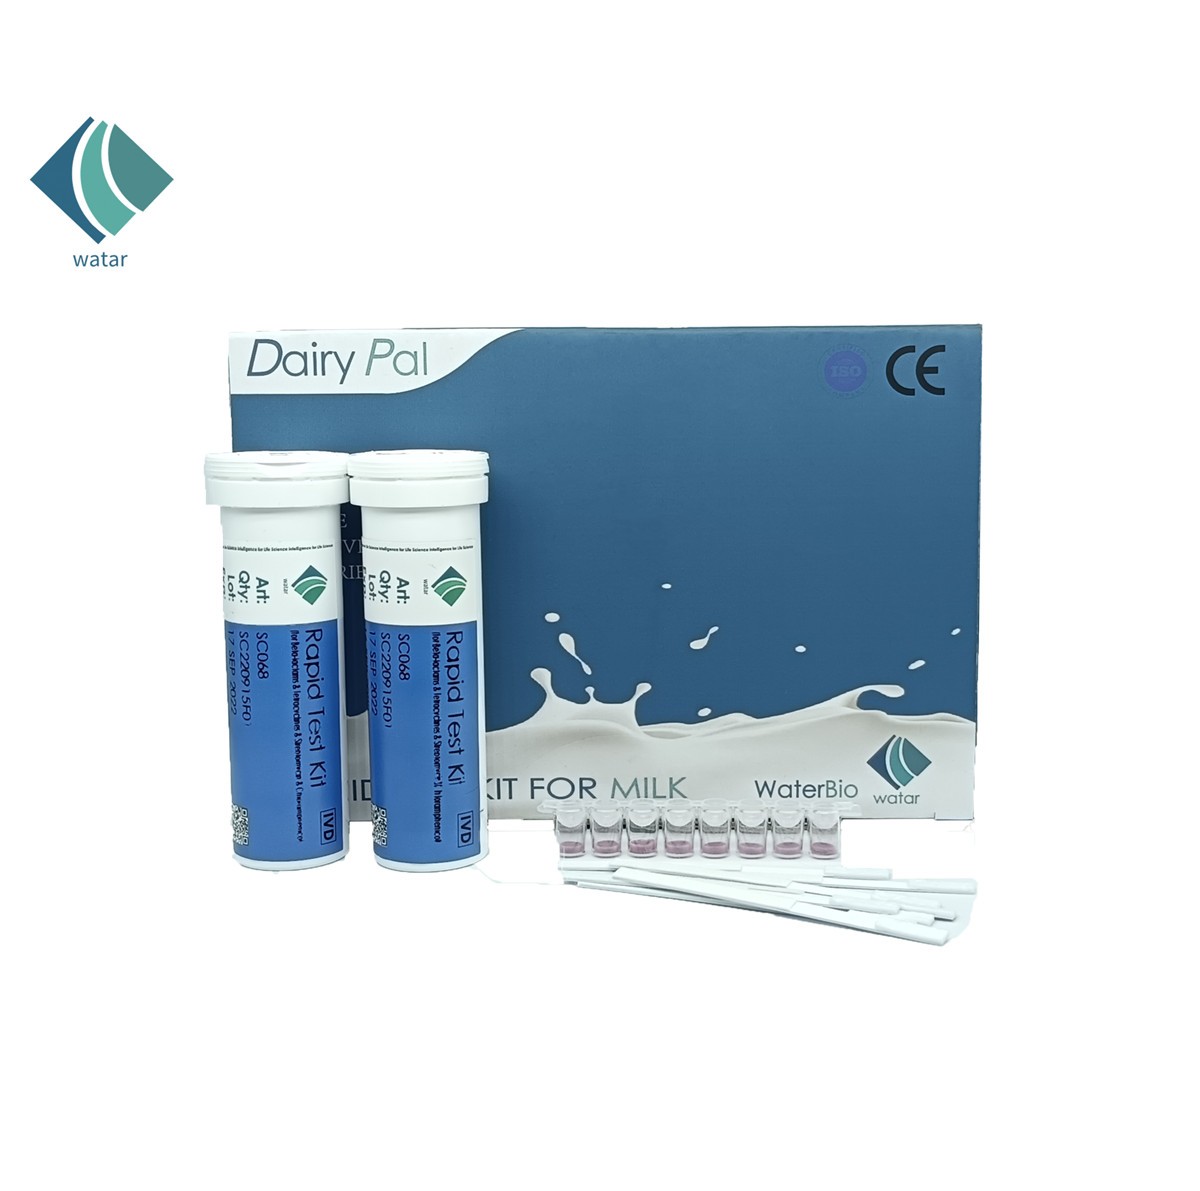
CONTENTS
|
l 12 tubes each with 1 strip of 8 reagent microwells and 8 dipsticks. |
|
l 1 Microwell holder |
|
l 1 Kit insert |
|
l 100pcs Disposable plastic pipette, |
INSTRUMENT MAY NEEDED BUT NOT PROVIDED
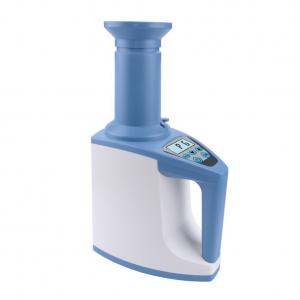
l DairyPal® Dry incubator(Model: Mini B, OPTIONAL)
l DairyPal® Dipstick Reader (Model: TSR-100A, OPTIONAL)
SAMPLE PREPARATION
l Whole fat goat milk powder
Weigh 1g (accurate to 0.01 g) goat milk powder, pour into the centrifuge tube and add 8 mL of purified water to mix and use as sample for testing.
l Goat milk powder
Weigh 1g (accurate to 0.01 g) goat milk powder, pour into the centrifuge tube and add 8 mL of purified water to mix and use as sample for testing.
l Fresh goat milk
Directly used as the sample to be tested, following the operation steps.
REMARKS: The sample to be tested must be a homogeneous liquid without agglomeration, acidification or precipitation.
TEST PROCEDURE
1. Read the instruction attentively, choose a clean and dry place to perform the test, wash and dry your hands before starting.
2. Take the kit out of the fridge and wait until the temperature of the reagents reaches the ambient temperature.
3. Calculate how many milk sample will be tested and mark the sample tubes to identify. The milk samples should be fully liquid without any clots or deposition, the ideal temperature of milk sample is between 4 to 20℃.
4. Take the tubes required from the kit package, take out as many micro-wells and dipsticks as the milk samples to be tested, and make proper marks to match the milk sample.
l To open a dipsticks tube, press the safety ring down, take off the ring and get the tube cap off with your thumb.
l Recover the cap tightly after taking out the required micro-wells and dipsticks.
l Empty one test tube then open another one.
l Keep the unused micro-well caps tightly sealed. Do NOT tear off the strip of 8 microwell caps.
l Use the exposed dipsticks in 1 hour.
5. Place the required numbers of the mircrowells in the dry incubator, transfer 200ul of the milk samples into the microwells, inject and reject the milk sample for 5 times consecutively to homogenize the lyophilized reagent and milk sample.
l Dip the end of the plastic pipette(DairyPal® Mini pipette) tips into the milk and slowly releases the sucker. When the sucker is back into its initial position, transfer the 200µl of milk into the reagents, by slowly pushing the sucker down to the bottom.
6. Start the timer to incubate for 3 minutes at ambient temperature.
7. Dip the dipsticks into the micro-wells with the "Immersed End" down side to the bottom.
8. Start the timer to incubate for 7 minutes at ambient temperature..
9. Then take out the dipsticks and place them laterally in a dry clean place, peel off the sample pad, interpret the result.
l Use a clean nipper(or new pipette tip) to scrape gently and slowly the sample pad.
l The peeling off of the sample pad will stop the ongoing reaction of the receptors.
l File the used sample pad peeled off dipsticks if necessary.
RESULTS INTERPRETATION
The dipsticks are embodied with 2 lines, Control line and Test line, which are briefly expressed as “C” and “T”. The test results will be determined by the color density of the lines. The following diagram describes the result identification.
l NEGATIVE: Line C is visible, Line T is stronger than Line C, which means that, the concentration of cow milk in the sample is below the detection limit.
l POSITIVE: Line C is visible, Line T is weaker than or equal to Line C, which means that the concentration of cow milk in the sample is above the detection limit.
REMARKS: Control line is used as a quality indicator, which will always appear regardless of the line T. If Control line does NOT appear, it indicates that the result is invalid. Users please check the kit insert again and re-do the assay with new test dipsticks.


CATEGORIES
LATEST NEWS
CONTACT US
Mobile:+86-18612182039
Tel:+86-029-85274126
Whatsapp:+8618612182039
Email:info@watarbio.com
Add:No. 12, Hongzhuan South Road, Yanta District, Xi’an 710061, China